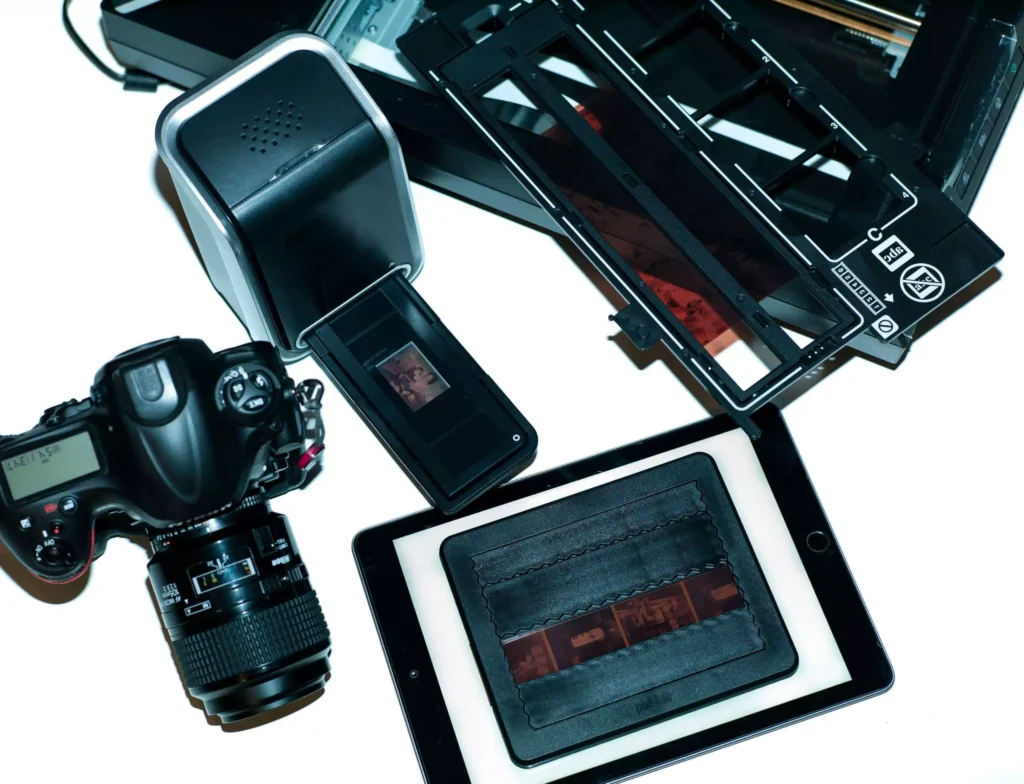
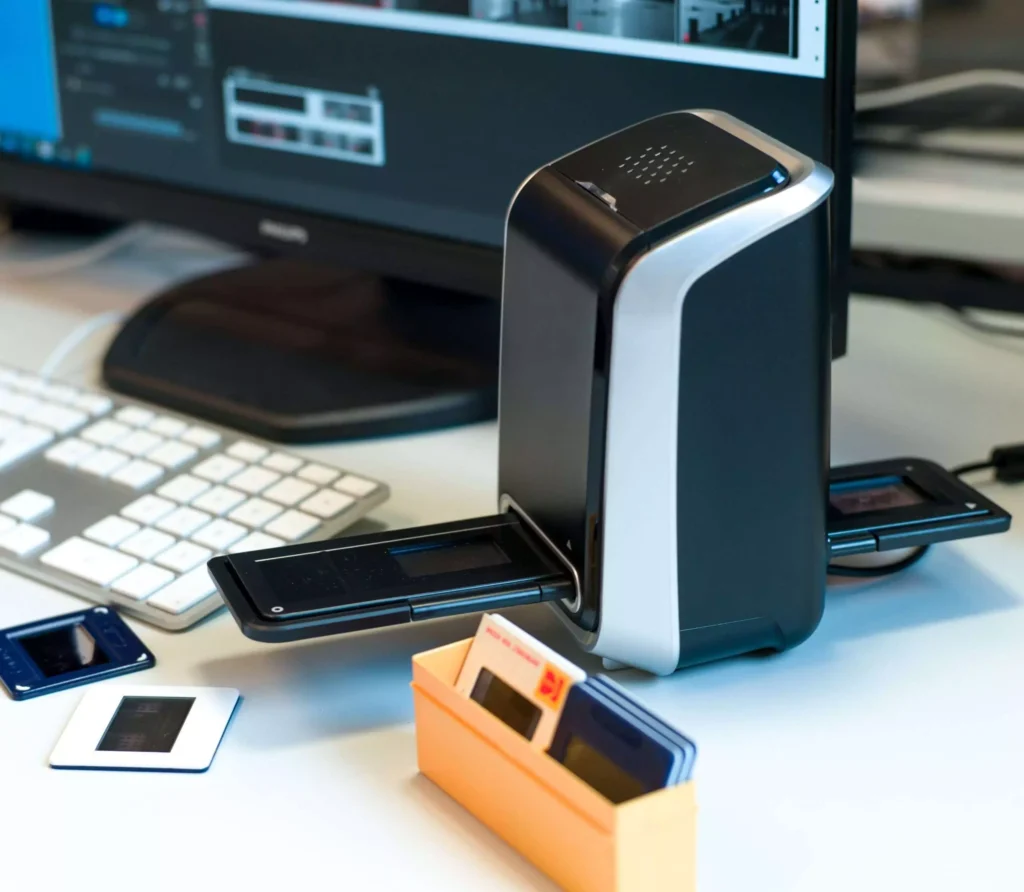
CMOS scanners are typically small devices that can be purchased for under 100 Euro. You can find these devices at any large online retailer, electronics store or even at your average discount store around the corner. The user places a slide or film strip in a holder and pushes it into the device. There isn’t much to configure, allowing you to directly begin with image digitization. A cheaper camera sensor then “somehow” photographs the image in an even lower resolution.
The images are subsequently transferred to your PC via USB or memory card. Results vary depending on device and image. However, these results cannot be compared to those of a proper film scanner with CCD. With a CMOS scanner, there aren’t many opportunities to edit your image during digitization and once digitization is over the image quality for post-processing editing is insufficient.
These CMOS devices are cheap and at first glance their ease of use may appear attractive. However, customers are often disappointed with their quality and decide to digitize a second time with a real scanner in order to obtain satisfactory quality.
Advantages | Disadvantages |
---|---|
fast digitization | requires prior knowledge of photography and image processing |
use of existing hardware | dust and scratch removal is particularly complex and the quality of an infrared-based optimization can hardly be achieved |
a good color management is difficult to achieve due to correct, reproducible lighting conditions and it is usually very expensive | |
correct conversion of negatives is very time-consuming | |
resolution mostly lower than expected (PPI vs. megapixel, keyword: limitation by Bayer matrix) | |
new acquisition very expensive | |
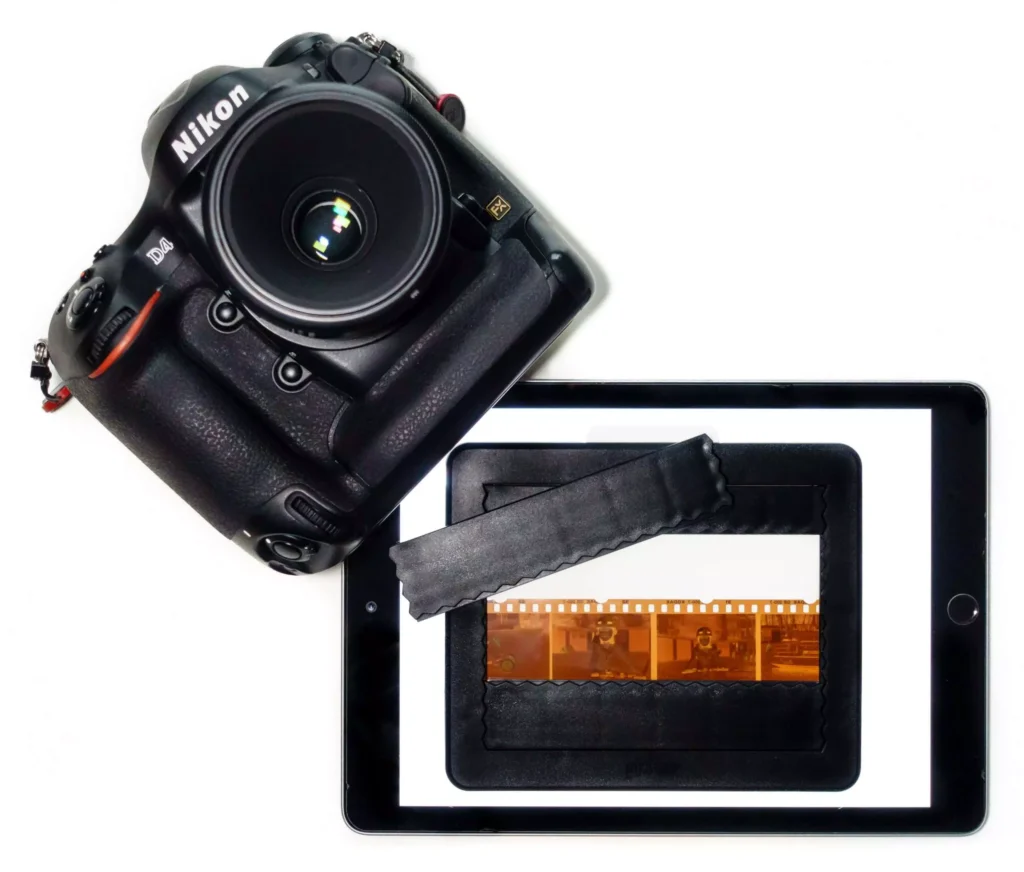
There are many different tutorials on the internet concerning how to digitize with a digital SLR camera. Designs range from a simple slide attachment to finely subtle, self-designed constructions, that set the camera and images to a fixed distance and even more accurate alignment. Gifted craftsmen take it even further and combine their DSLR with a modified slide projector, transforming it into a digitizing machine that can handle large quantities of slides in a short amount of time.
This option is mainly for those who already have a very good full-frame digital camera. The acquisition of the necessary lenses and accessories for digitization presents a considerable cost factor and is far more expensive than the purchase of a film scanner especially designed for this task. Costs can range as high as several thousand dollars especially when you factor in the purchase of a camera. We recommend the use of a high-quality full-frame digital camera, that can achieve the required dynamic range for digitization. This is not the case with mid-range cameras, which are not capable of capturing a sufficient amount of image detail. It is also important that the resolution is high enough. Although there are professional cameras that offer up to 45 megapixels, it’s important to note that during digitization the commonly-used Bayer Matrix uses a 2/3 lower resolution.
It’s also important to consider that the images have to be absolutely flat. If you want your scanner’s holder to provide the necessary flatness, it’s important to keep this in mind and take appropriate action during assembly. Well-planned lighting is also important because reflections on the film’s surface are common.
In this workflow, image editing takes place after digitization. In this method, dust and scratches present on the images are transferred 1:1 into the digital image. They are then corrected either by hand or with a special plug-in like SRDx for Photoshop. In this case, there is no infrared-channel as there would be when working with a scanner with an automatic dust and scratch removal option.
If you want to capture your negatives, you are confronted with the difficulty of first developing them into positives. The correct conversion of the orange mask present on negative films presents a special challenge, that is usually carried out by the scanning program itself. SilverFast, for example, has a NegaFix tool, which offers presets for many common types of film. In re-photography, conversion usually has to be performed in the image editing software by hand. Many programs now offer a basic negative/positive conversion option. However, these fail to consider the different orange masking of individual films. If the orange masking is not properly removed, images with low contrast and color cast are the result.
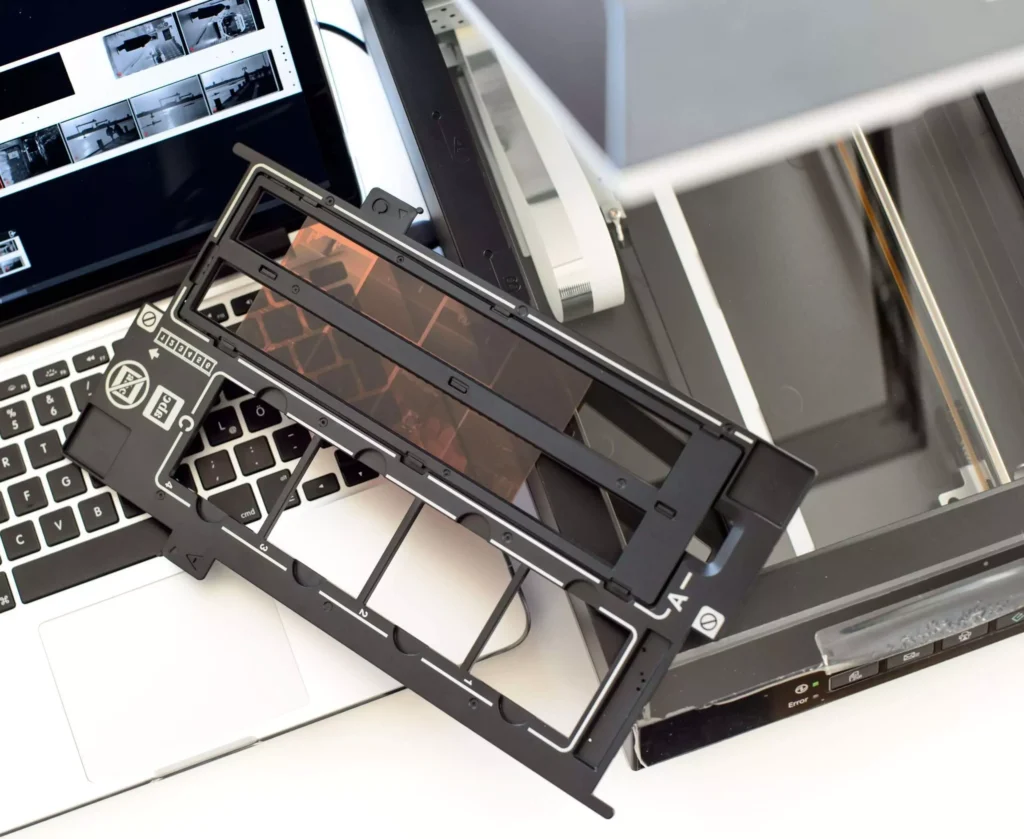
CCD scanners differ in many ways from CMOS scanners, even though entry-level CCD scanner models are priced only slightly higher than many CMOS scanners. While CMOS scanners operate like cheap digicams, CCD scanners process the scan unit and read the image line by line. The CCD devices achieve a significantly higher dynamic range and resolution when compared to CMOS scanners, although the scan times tend to increase depending on resolution.
A clear advantage over photography is the fact that scanners work relatively independent from ambient light and create constant lighting conditions. Taking a photo requires a bit of effort in regards to the necessity of having an uniform lighting environment. This is not the case when scanning, due to the construction conditions of the scanner. Many film and photo scanners have an additional infrared channel, which allows the scanning software to accurately capture dust and scratches and remove them. Post-processing with infrared based dust and scratch removal is performed automatically in most cases.
Applicable scanners boast a high resolution and good dynamic range. Special scanning features, such as SilverFast Multi-Exposure, can further increase the dynamic range of a scanner. This is accomplished with a second scan, which can increase drawing in the highlights and shadows and reduce image noise.
With the color profiles already included in SilverFast, every scanner is provided with optimal conditions for a calibrated workflow. You need not worry about color management unless even more precise results are desired. Create your own profile quick and easy with the auto-IT8 scanner-calibration.
Advantages | Disadvantages |
---|---|
optimal dust and scratch removal by using the infrared channel | increased expenditure of time for scanning |
constant lighting conditions, it can be used independently of the ambient light | |
high dynamic range for more image details | |
calibrated workflow easy to set up | |
ease of use | |
inexpensive devices with good quality available | |
CMOS scanners are incredibly easy to own and incredibly easy to use. They are fast. However, you ultimately pay for their low price tag; image adjustments are often not possible and quality isn’t convincing.
Digital cameras offer an interesting option for those who already have a digital full-frame camera and have the time and the inclination to set up a suitable repro stand. However, advanced skills are required for both digitizing and editing, not to mention a high-quality image editing program.
One of the cheapest and easiest options is still to scan with a CCD scanner. Here, the necessary knowledge is usually confined to the scanning software. The hardware is already adjusted to the current project. Training in an additional image editing program is only necessary if you want to go beyond recovery and creatively edit your images.
Once you decide to scan your images with a high-quality CCD scanner equipped with SilverFast, you can find an appropriate scanner here.
LaserSoft Imaging AG
Luisenweg 6-8
24105 Kiel, Germany